RV Roof Installation – The Basics
If you’re in the market for a new RV, you’ll need to know the basics of RV roof installation. This article will provide you with the information you need to install a new roof on your RV. Here are some of the most common mistakes to avoid.
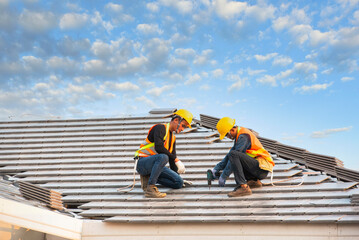
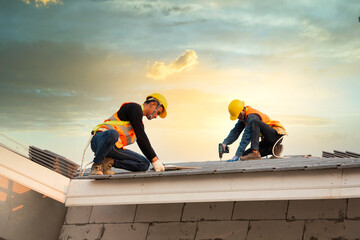
Always make sure to remove the roof housing. This includes anything like roof vents, lids, or air conditioners. You can pull off the old roof with a pry bar or pull it up by a screw. Start at one corner of the roof to make the job easier. When removing the old roof, check for any plywood damage and cracks in the old roof membrane. Also, you should remove any termination strips or bars.
Regarding rubber or fiberglass RV roofs, there are some steps you must take before installing a new roof. Rubber roofs are installed by applying a layer of adhesive to the plywood roof. In contrast, fiberglass roofs are installed by painting a layer of adhesive catalyst resin on fiberglass matting or gel coat. Then, you’ll need to carefully cut and place your new roof and attach everything back together. You can also paint the metal edges, such as vents, skydomes, or antennas, and apply them to caulk.
After installing a new roof, ensure you take good care of it. While putting a protective cover over it may be tempting, don’t forget to clean the roof frequently. Fruits and pollen can damage rubber or EPDM roofs. Clean your RV roof often and check water sealing every few months. If you leak in the roof, be sure to get it repaired or replaced. Your roof will last a lot longer if it’s properly cared for.
The first step is to clean the RV roof thoroughly. The adhesive must bond to the material and any existing silicone sealants must be removed. You can use a rag with solvent to clean small repair areas, but you can use power washers for larger resealing jobs or replacements. If you’re replacing an existing EPDM roof, you should also remove any silicone caulking and remove any surface wax. A professional roof installation company can install an EPDM roof for you, but this is not necessary.
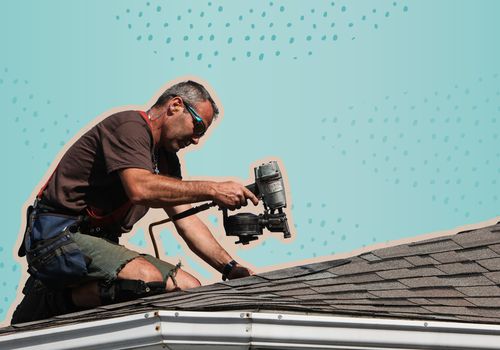
Remove the old rubber roofing from the camper using a screwdriver. These elements are generally held in place with a series of screws. If a sealant protects the screws, you can remove the entire piece with a 5-in-1 tool. Next, remove the face cover of the AC. There are four small screws in the face cover. Once you remove these, removing the AC and installing the new one is easy.
There are several different materials you can use for your RV roof. Some RV roof installation specialists use TPO. This type of material is inexpensive and durable. You can choose between EPDM and TPO depending on the aesthetics of your RV. Two kinds of materials can last for years. Choosing the right material is a crucial decision for your RV. Choose a cheaper option if you can’t find one that matches your style. If you don’t have the skill or the experience, you can hire an experienced RV roof installation company.
Another common mistake people make is not checking their RV roof. Leaving it unchecked for even a few days can lead to mold and water damage. If you’re not careful, your roof can be damaged by low-hanging branches or parking facilities. Ensure that a durable cover protects your RV roof. Then, you can take it to the next level by applying a sealant. If a roof cover does not protect your RV, you may have to replace it entirely.
Before applying your roof sealant, make sure you caulk the skylights, air conditioning unit, and roof vents. Make sure you spot-test the sealant before applying it. If your climate is humid, you may need to use a different type of sealant. Your RV manufacturer can also recommend an appropriate sealant for your environment. You are recoating your roof after installation is recommended to keep it waterproof. This protective layer protects your RV from moisture and wind damage.
In the end, you can opt to install a FlexArmor roof yourself or hire an RV roof installation company. This type of roof is much cheaper than a brand-new RV roof. After all, a new roof can cost up to $5,000 and take thousands of labor to install. An RV roof installation company will only charge you a fraction of that. They also offer a lifetime warranty. This makes it worth considering for your RV’s roof replacement.